Friday, May 11, 2012

Marshmallows!

I enjoy trying different things, so when I saw some recipes for home-made marshmallows and read the raving reviews on the taste I knew I had to give it a try.  And for starters I want to tell you the taste is fabulous.  Like a bit of soft silk for your mouth, mmmm, delicious!
For those of you who would like to try making some, just a bit of advice that might make things a bit easier for you.  For starters, if you have a kitchen-aid or similar mixer, great!  If you don't, (or if like mine it went on the fritz) make sure you have a very reliable hand mixer.  When I made my first batch, my hand mixer died on me just as I was finished, from over heating.  So I now have a new hand mixer and the next batch was a breeze.  Now if I could only find someone to fix my kitchen-aid, I'd be a happy camper.
Next, go to youtube and watch 3 or 4 video's on making marshmallows.  This will give you a good idea how it's done, and take the guess work out of it, and show you the possible pit-falls before you begin.
The recipe I went with in the end is on this web site. http://www.joyofbaking.com/candy/HomemadeMarshmallows.html
These are the only ingredients you need for this recipe.  As you can see, it's mostly all sugar.  As you can see, I also added a candy thermometer.  Not all the recipes I looked at required one, but just said to boil until the soft ball stage.  Like serious, I'm impatient, so I'd probably not wait long enough for the sugar mixer to heat up, as it takes about 10 minutes to reach 240F/115C.
This funny looking mixer is 3 pkgs of unflavoured gelatin in a half cup water, and left to bloom for several minutes. 

I suggest you get the correct method for this on the website (and video).  This is a water, corn syrup and sugar mixture.  When it reaches the correct temperature add it to the gelatin mixture.

When you first mix it it just looks like this sort of watery sticky mixture with an a creamy colour

As you start beating you will see it start to thicken up and turn white.

You will need to beat this mixture until light and fluffy, which will take about 10 minutes.  It looks sort of like meringue, but don't be fooled, this is one wickedly sticky mixture.  When this is all done you can add the flavouring of your choice, and a bit of colouring if you like.  I started with vanilla, and the ones you see here are peppermint flavoured with a bit of green tinting.

This is were the icing sugar comes in.  Grease a 9x13 pan then line it with wax paper, grease that as well and then dust very liberally with icing sugar.  Once you have managed to transfer most of the mixture into the pan (I say most, because this stuff is so sticky you will still have a good coat in you mixing bowl, but a good sink of hot water and dish soap will make quick work of that), let this dry for at least 12 hours.  Don't cover it!!!

So now you are ready to cut your marshmallows.  Liberally dust your counter with icing sugar.  And also have a bowl of sifted icing sugar next to you.

Cutting can be a bit tricky and sticky, so you will have to find the method that works best for you, whether that be a scissor, knife or pizza cutter.  After the pieces are cut, put them into the icing sugar to dust the edges so they aren't sticky anymore.  To remove extra icing sugar, toss gently in a sieve before storing.

Now it's time to enjoy!  These would make a lovely addition to a party table or even taste good in a 'smore! 

This pretty tray comes from the Button Box http://www.thebuttonbox.ca/

I hope this inspires you to go and try your hand at making some marshmallows.  You won't be sorry, I promise.  And the best part is that unlike store bought marshmallows, there are no artificial ingredients in these ones.


Wednesday, April 18, 2012

Puppy Love


So, she's finally done!  And how can you not love a cute little girl like this, with a pink flower and polka dot bandana!  I always find it interesting how I see an idea somewhere (this one from a Dutch blogger and crocheter) and how all these funny, odd looking parts come together at the end and make something like this.  You see, I'm not much for following patterns.  I will use them as a guideline if I need to, but then I usually just wing it.  The fun thing is that each critter comes out looking one of a kind.  But can be rather frustrating when trying to make 2 symetrical ears, and forgetting the number of stitches you started with the day before.  I really need to start keeping a notepad handy.
This little puppy would make a perfect gift for a little girl.  She is for sale ~ $20 and it's yours. 


Tuesday, April 17, 2012

'A few of my favorite things'

 
I found these fun antique looking bits at Michel's last week.  I'll be adding them to some of my vintage inspired crochet things.

Tuesday, April 3, 2012

Wrist Warmers

Happy Spring!
My oldest daughter is totally into vintage clothing.  I am certainly not complaining, as some of the clothes I've seen teenagers wear leave me seriously scratching my head. Websites like freepeople.com and www.bhldn.com are some sites she likes to visit and get idea's from.  So when I recently picked up a copy of one of my favorite crafting idea magazines 'Molly Makes' and saw a pair of wrist warmers featured on the front cover I knew I had to give them a try.  So off I go to my favorite wool shop to buy what I need, only to realize that the yarn used in this pattern is so fine (lace weight) that there is no way in the world I was even going to attempt working with it.  Sock yarn is also very fine, although double in size of what they were asking for, but I figured, get a bigger hook and fudge the pattern.  This pair you see Charlynn wearing is my second pair, and I'm glad to say she is very pleased with them.
If you google wrist warmers under images, you'll find lots of different styles and sizes.  What I usually do is spend some time looking through the images, then combining what I like best and going with that.


Friday, February 10, 2012

Felting

I love yarn!  The colours, the textures, the different fibers.  But of late my fascination has been with wools, and any other yarns that I can felt.  This first yarn below, the Rio De La Plata is actually an $18 wool that I found in a bargain bin for 75% off!  The fact that it's hand spun and comes from Uruguay makes it just a bit more interesting to me.  Not sure yet what I'll be making with it, but I have a few ideas floating around.


The yarn below is called 'Fisherman's Yarn' from Lion Brand.  I bought these at Micheals as they have a very decent selection of yarns. 

A while ago I saw some felted baskets in a magazine and thought I'd give it a whirl.  This one now sits on my work table and comes in very handy for holding all my little nick-knacks.


This hat is made with a combination of Fisherman's Yarn and a Peruvian wool that I got at the Chilliwack Wool shop.  It was huge before I felted it.  It was way to big for my head.  Now that it's done it fits a kid of about 10-12 years old.  I added a band along the inside edge because I don't know about you, but I think having wool sitting against my forehead for any period of time could get a bit itchy.


Felting is a whole lot of fun, but also comes with a bit of a learning curve.  If you're like me, it's do first, learn from your mistakes later.  I read an article on felting and figured, 'Hey, that's simple enough, I can do that too!'   Ha!  I don't know about you, but I'm rather impatient, so halfway through the first wash cycle I figured I'd go have a look to see how things were coming along.  Well, to my shock, not only was the piece not felting, instead of shrinking it was stretching. AAHHH!  I was about to throw in the towel but figured, just toss it back in, nothing to lose now.  After the load was rinsed and spun I pulled out my project again and Voila! it was well on it's way to being a nicely felted piece. 

Just a few pointers if you're going to give felting a whirl.
1. Use very hot water, and wash with similar colours as some yarns release a fair amount of fibers.
2. Most pieces will stretch (sometimes a lot) before they start to shrink and felt.
3. Don't be to gentle on your project.  I found that things felt the best when you let the wash machine beat the tar out of it.
4. Be patient.  If your project is not felted enough, throw it into another load of laundry.
5. Although it is best not to throw your project in the dryer because it might warp it and make it impossible to shape, I do occasionally toss it in for a few minutes just to get a wee bit of the moisture out.
6. Be even more patient.  It could take up to 2 days for a felted piece like a hat or a purse to dry.


Most important...Have Fun!
Hope you all have a great weekend!


Monday, January 30, 2012

Yarn Bombing

     Happy Monday everyone!  Today I'm super excited to share that I finally have spotted Chilliwack first yarn bombing!!!  The pictures you see below are of a sign post right in front of Decades.  I was running some errands in town with 2 of my girls when we spotted this yarn bomb.  Thankfully I had my camera with my and on our way home I made a quick stop to take a few pictures.  Now I can already hear some of you folks saying, 'What in the world is that?'  Well, as they say on www.yarnbombing.com , it's adding beauty to the urban landscape, one stitch at a time.  Late last spring was the 2011 International Yarn Bombing day and I had fully intended to participate, but then life happened, we bought a house and moved right at that time, so yarn bombing day was out for me.  And chicken that I am, I haven't dared to do any on my own after that.  That's why I was so thrilled to see some yarn bombing in our town, I am not alone!

     Yarn bombing is also referred to as yarn graffiti, and is done in both knitting and crocheting.  Many people put up their work under cover of darkness, so as to remain anonymous.  In most area's there is a law against graffiti, but because yarn bombing is usually so unique, cheerful, wacky, artsy and just plain fun, most of it get to stay put for quite a while.


Here are a few pictures of other yarn bombings.  The one with flowers on the fence is a favorite of mine.  What a creative way to cheer up a dull walk past a construction zone.

So have a wonderful week, and maybe this post will inspire you to try something zany with some yarn too!


Wednesday, January 25, 2012

Happy Wednesday


Since it's hotdog sale today at my kids school, and it was my turn to bring cupcakes, I thought I'd share a few pictures of some rather cute cupcake liner I found recently.  These are from Mary Engelbriet, and believe it or not, I got them at Michael's in the $1.50 bins.  I used the 'spark of imagination' liners for the cupcakes I made today, just because I figured it kinda fit with the school theme.  They come in a pkg of 50 so you are getting a really good deal too!


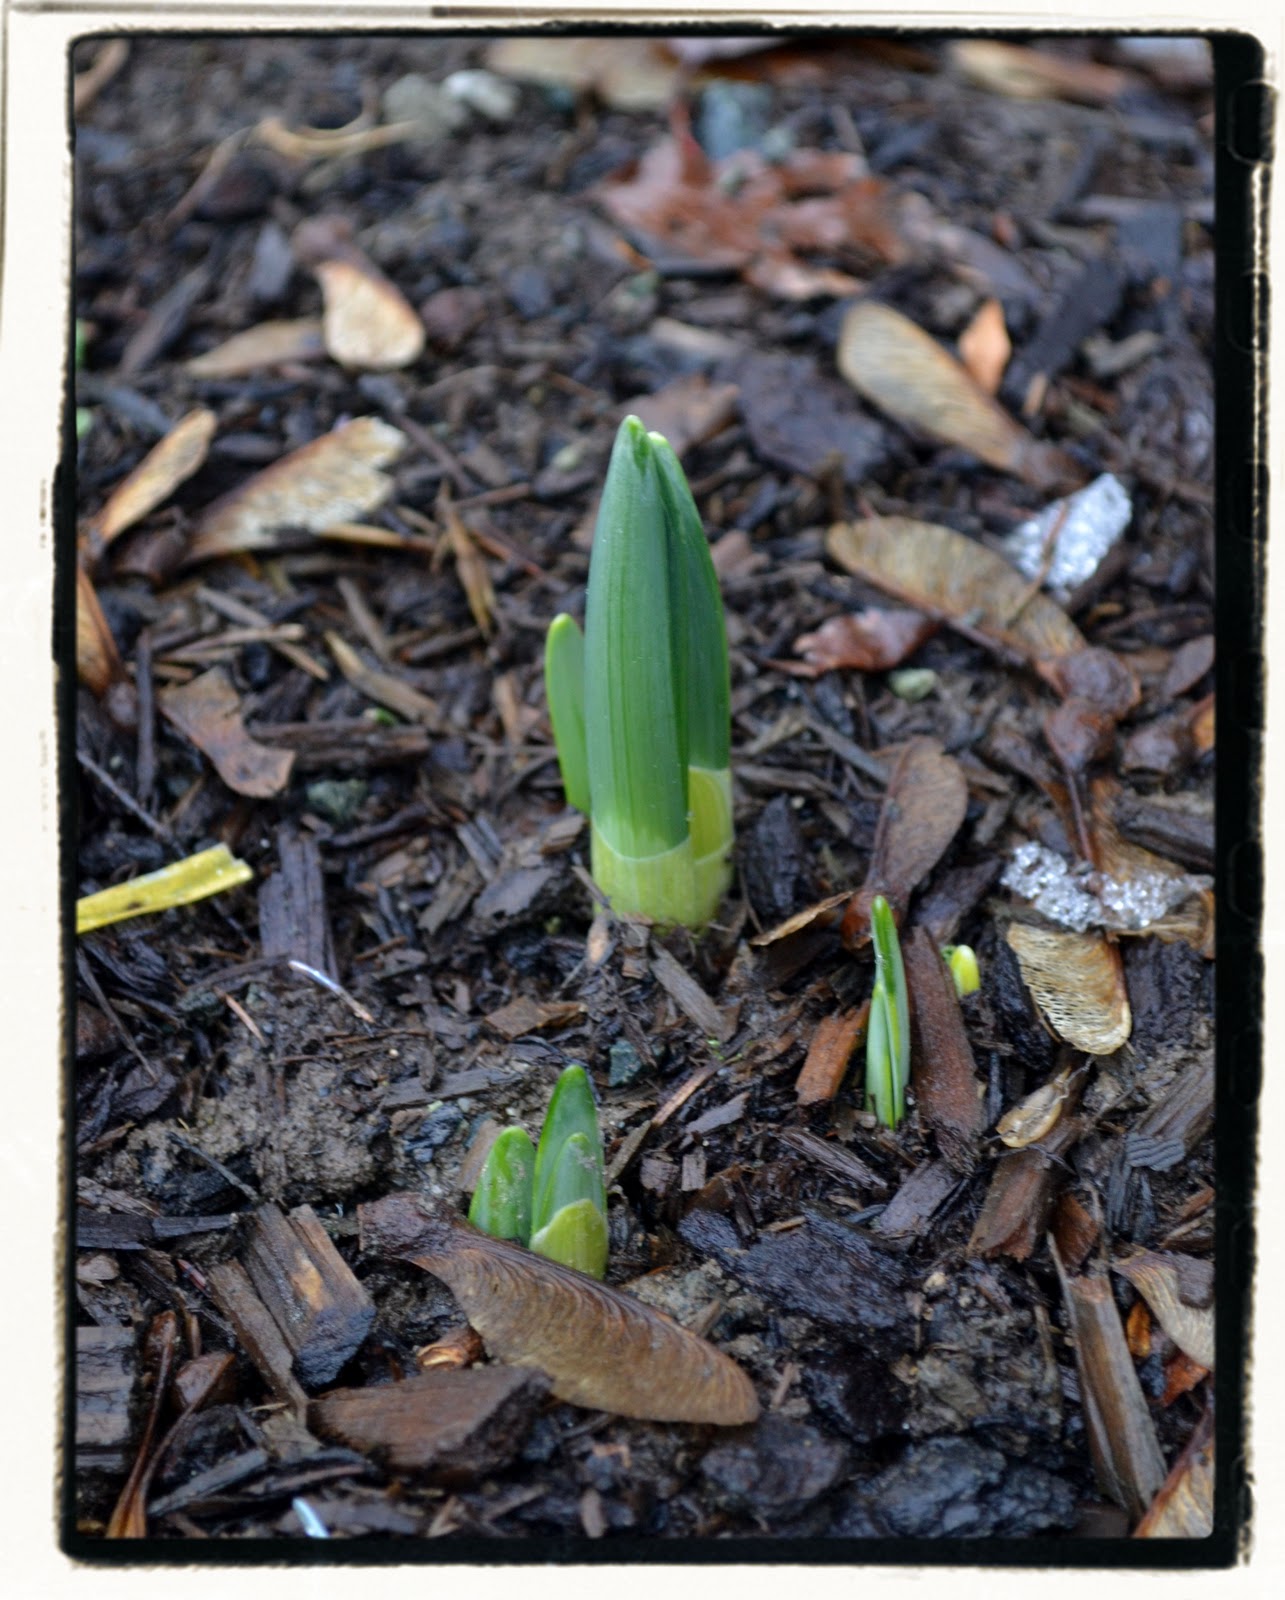
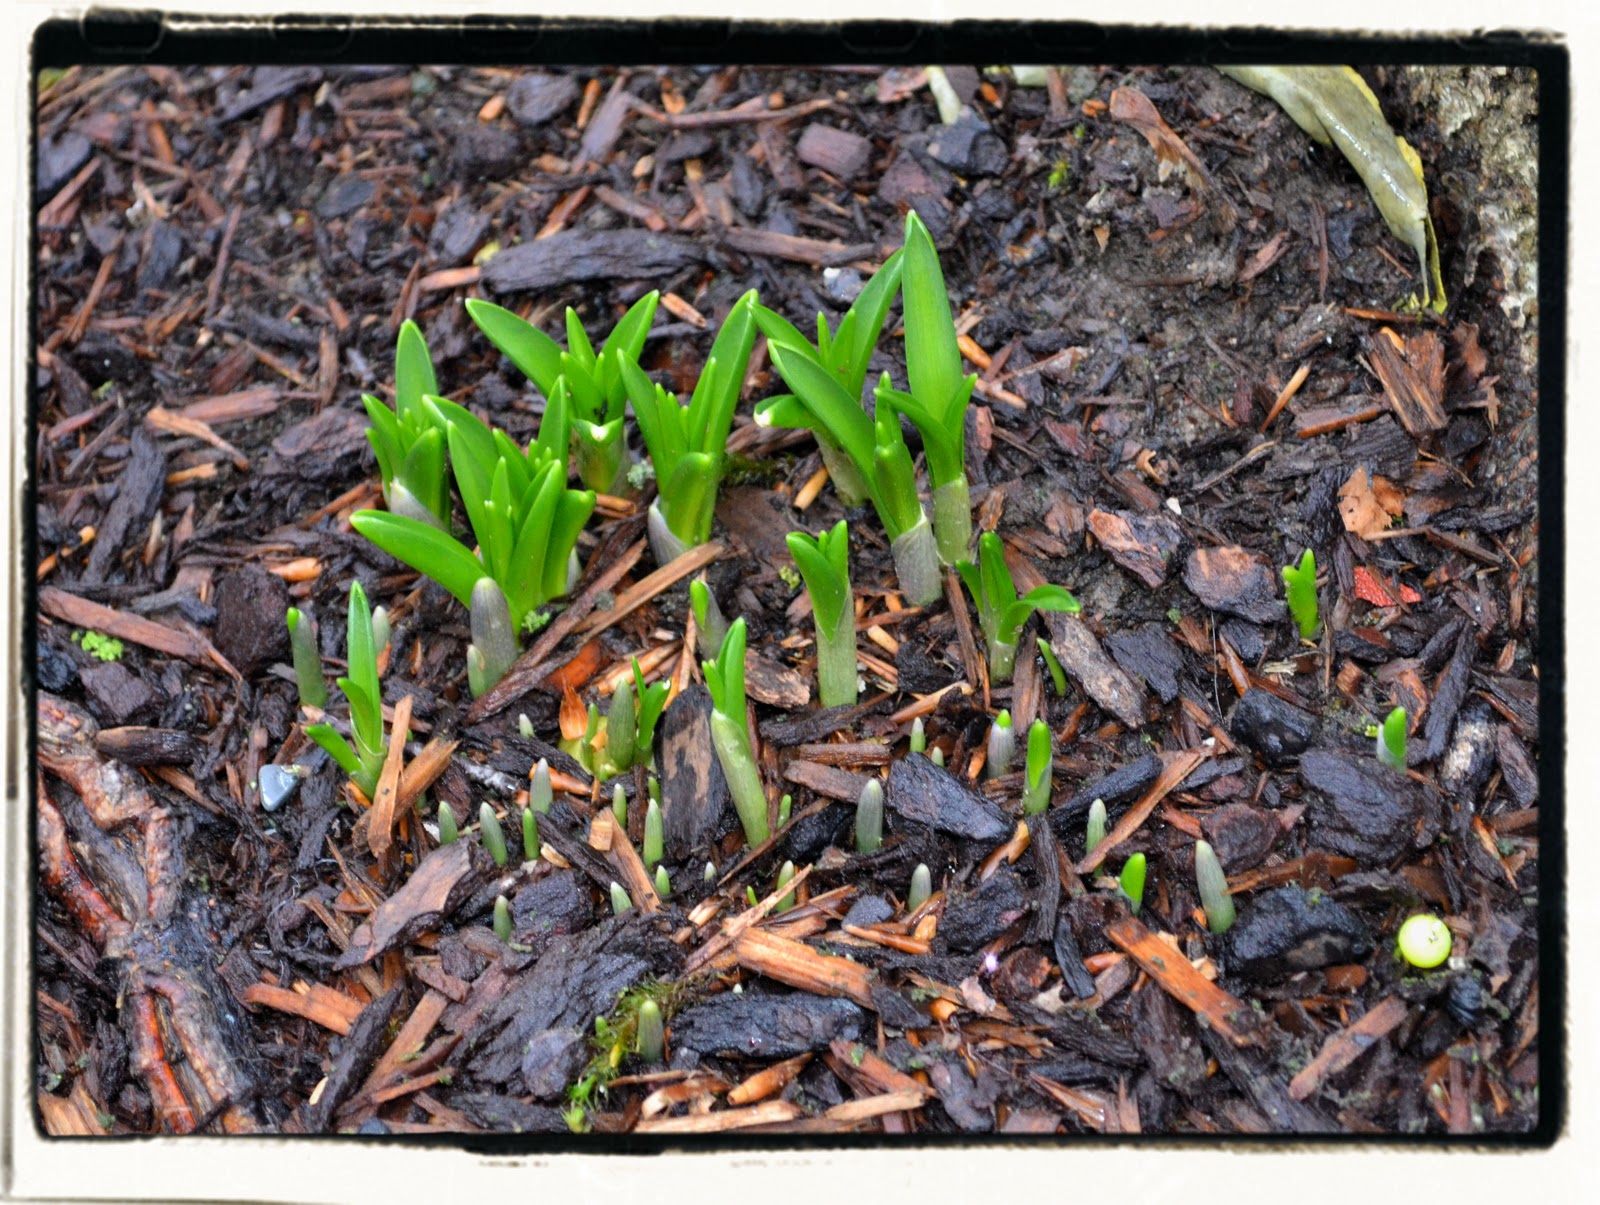
The weather is finally warming up, and as the snow is melting it's nice to see spring was hidding underneath, just waiting for the thaw to happen.